How to set up a Classroom plan
 Updated 1 month ago
by
Rana Wilds
Updated 1 month ago
by
Rana Wilds
A Classroom plan is a great alternative to our bigger school plan - Padlet for Schools. A Classroom plan allows for two teachers and up to 200 students!
Before fully diving into a paid subscription, our Classroom plan offers a 30-day free trial. During this trial you will have the full functionality of a paid subscription with all features available to you. After your 30-day free trial is over, if you have not yet signed up for the paid subscription, your account will automatically be downgraded and no new padlets can be made.
Create your Classroom
If you already have an existing Padlet account, create a Classroom plan here! If you are new to Padlet, you can simply sign up for a Classroom plan here.
Clicking on the squircle icon on the left side of your dashboard will also take you where you need to go to sign up for a Classroom plan. You will have the choice between starting a free trial or subscribing to a plan immediately. Pick between the two options and begin setting up your Classroom! Follow the step-by-step guide below.
- Click the appropriate link shown above or click the squircle icon located on the left-hand side of your dashboard.

- Select whether you would like to start a free 30-day trial or subscribe to a paid plan immediately. You can upgrade to a paid plan at any time within the free trial period. However, you cannot downgrade within a free trial period until the 30 days have passed.
- Give your classroom a name and URL.
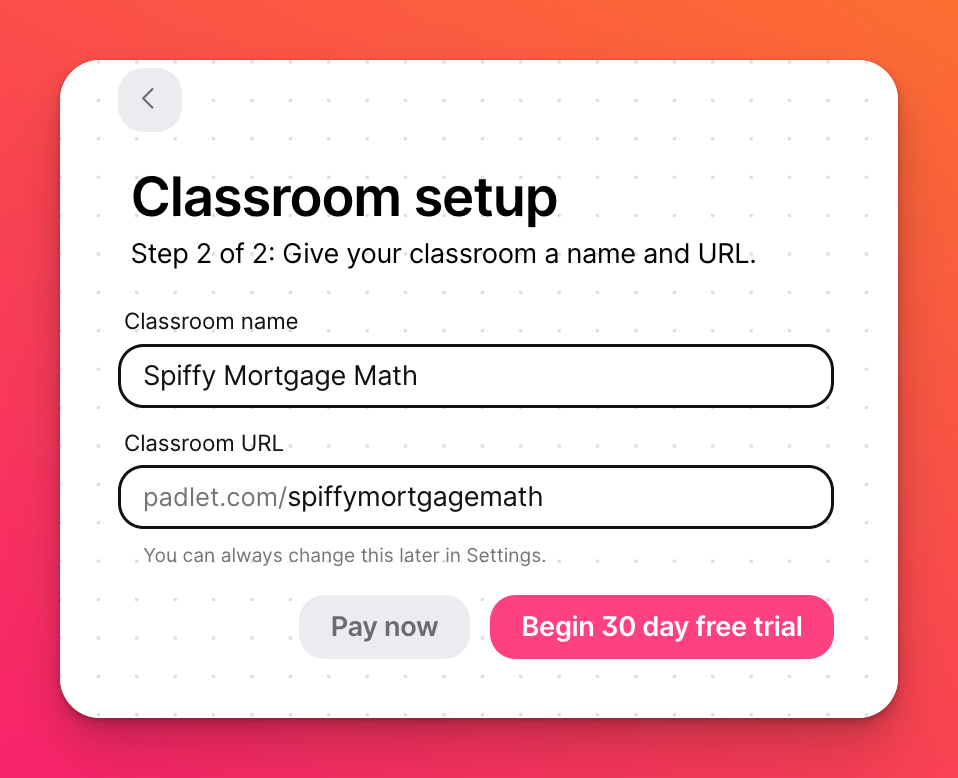
- You have now created your Classroom!
Setting up your Classroom
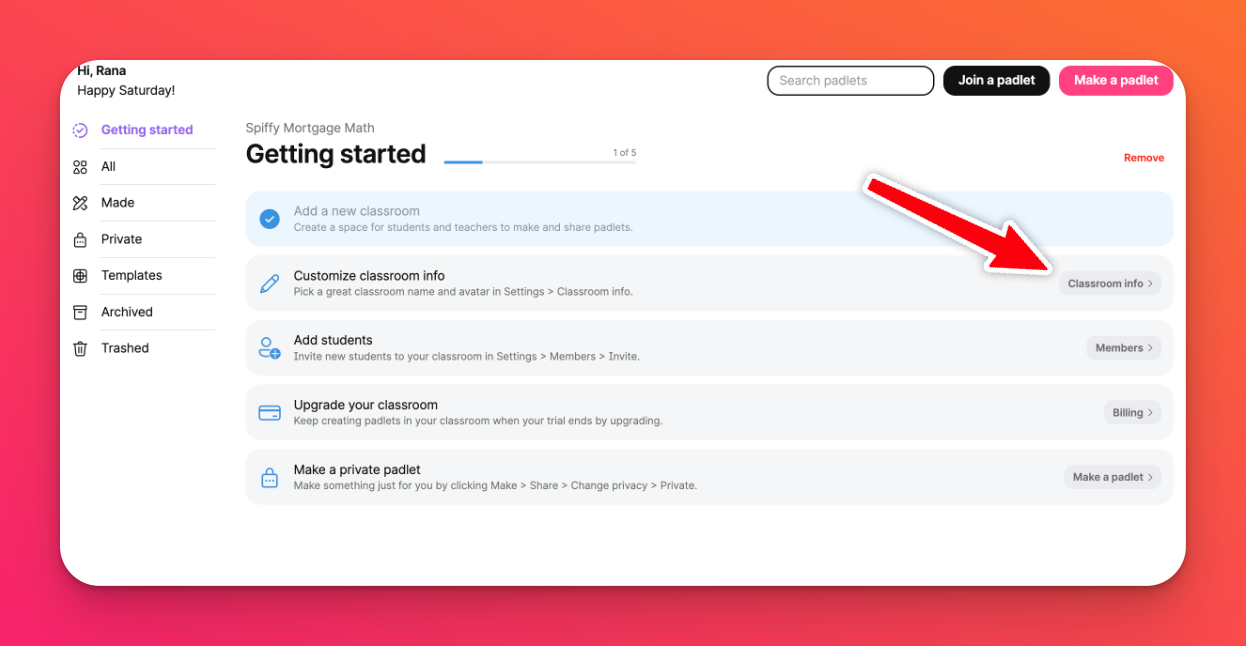
The 'Getting started' page will now display. Follow these steps to finish setting up your Classroom.
- Customize your classroom info. Click the Classroom info button on the right side of the screen.
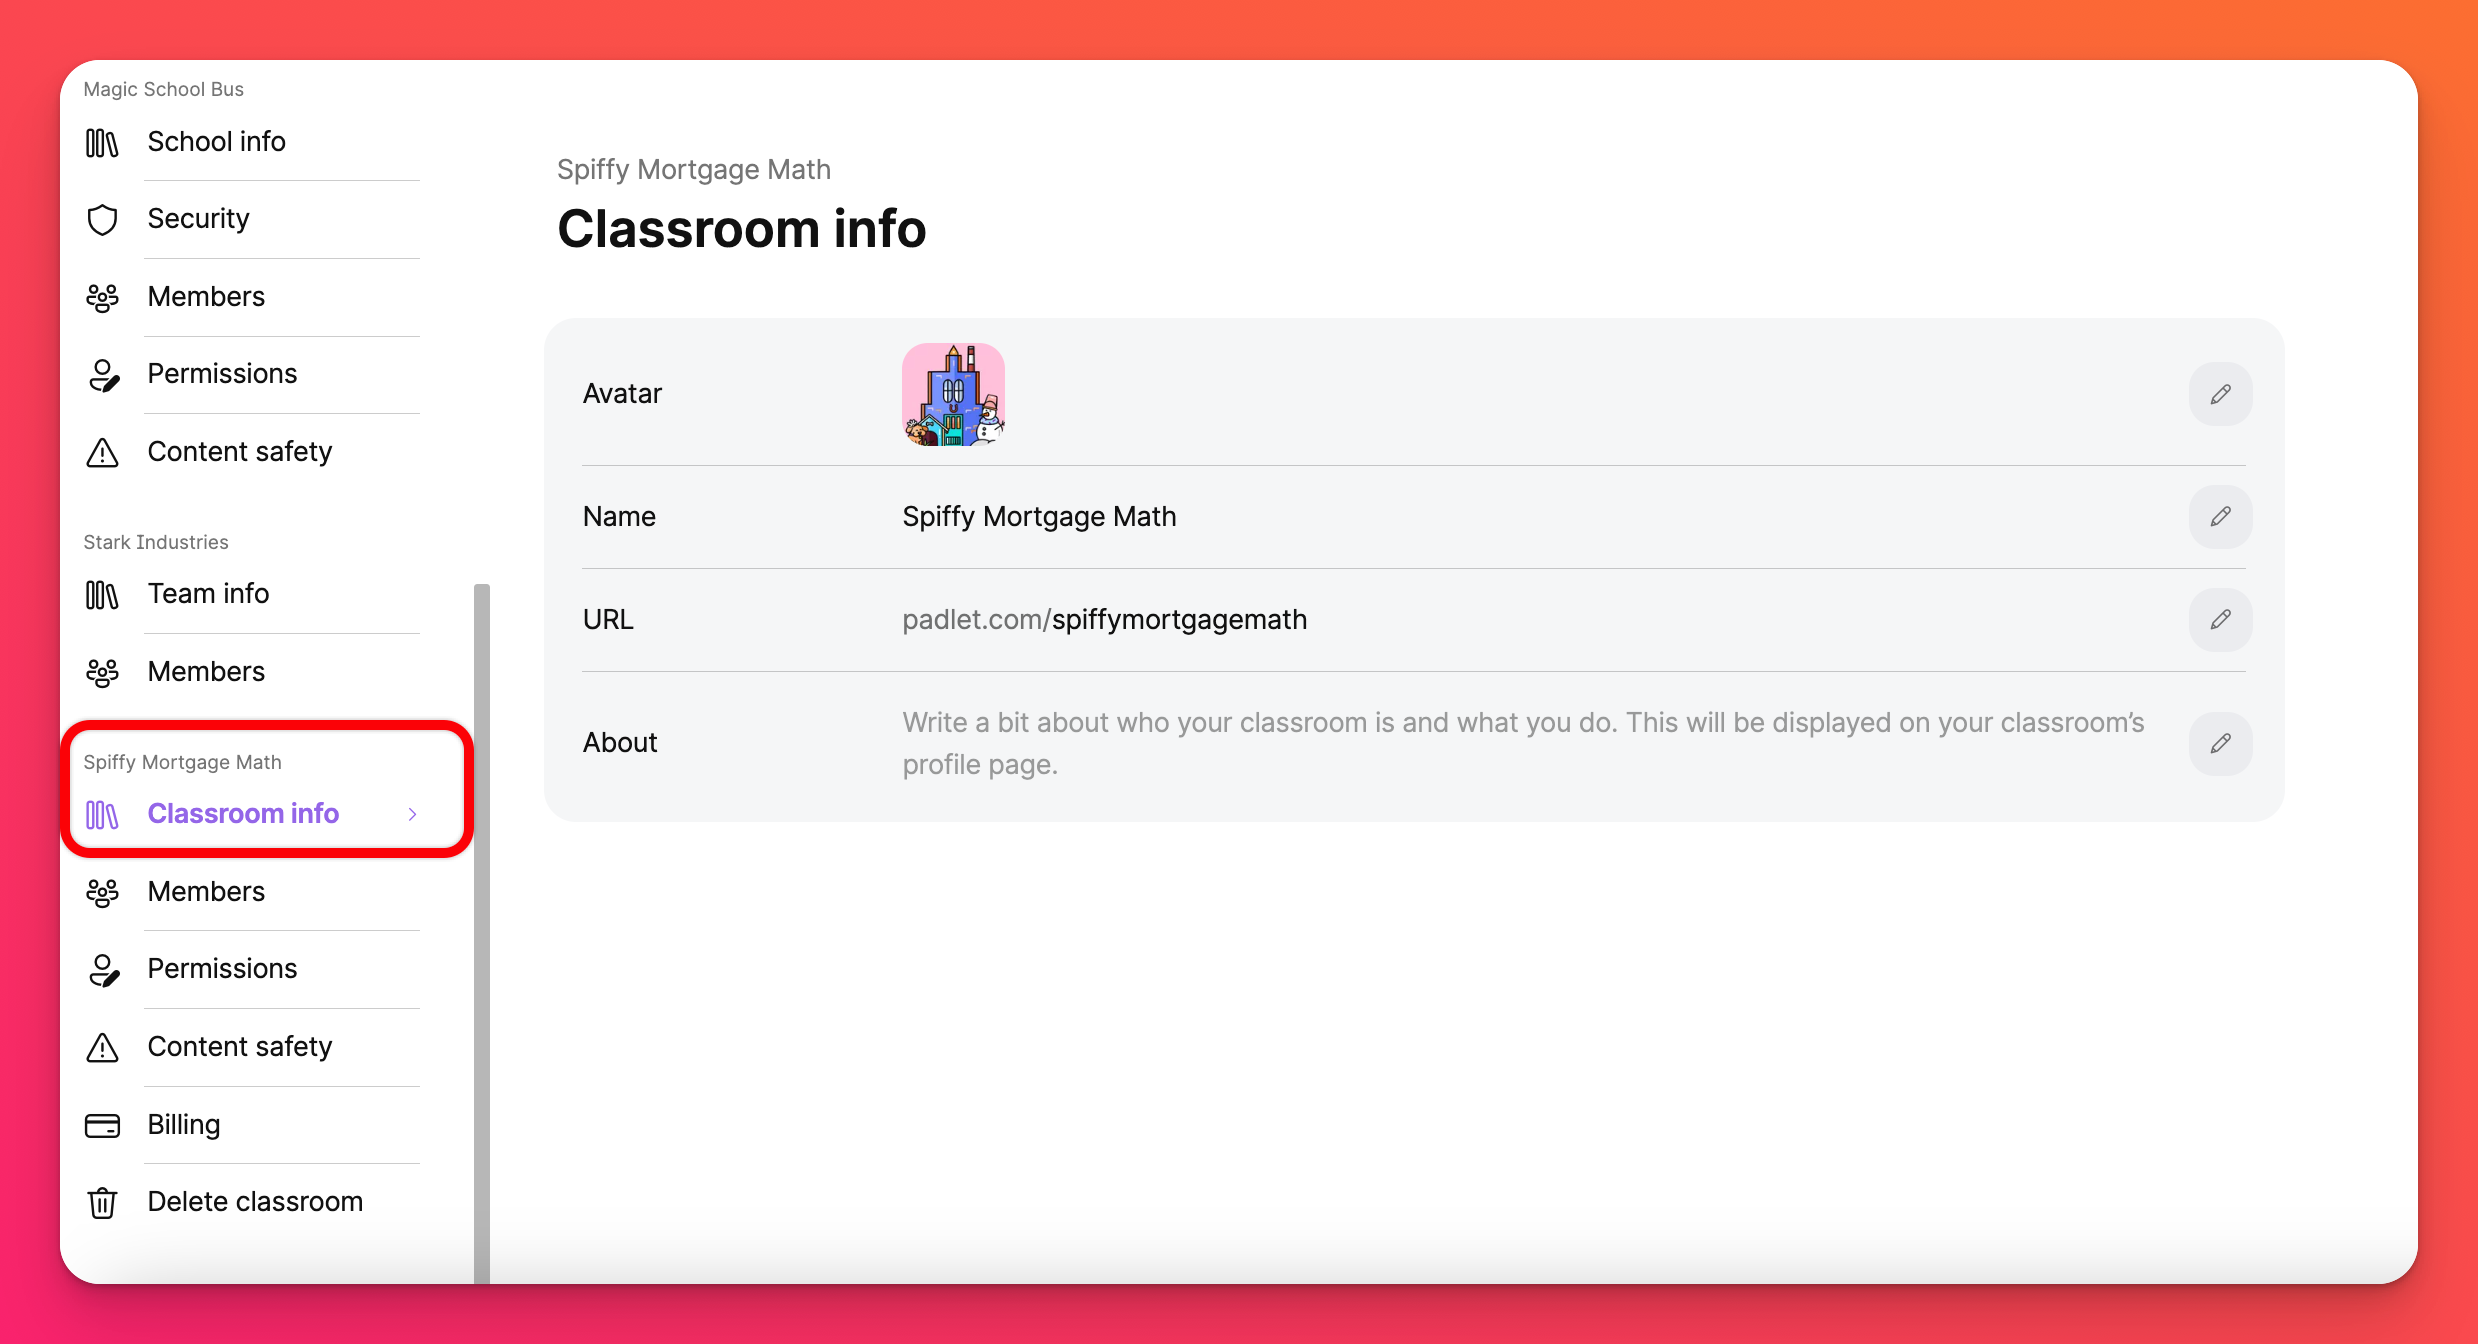
- You will see you are in your Classroom settings. You can also get to this screen by clicking the three-dot ellipsis button (...) on the left side of your dashboard > Settings > scroll down to where you see the name of your Classroom > click Classroom info. This is where you can change your avatar, change the name and URL of your Classroom and/or update the 'About' section. Either click on the text or the pencil icon on the right. Don't forget to hit Save!
To navigate back to the 'Getting started' page, simply press the back arrow in your browser. You can also just pick from the list of options on the left side and work your way down until you've finished! We will work down the column for the purpose of this article.
- Click Members. Here you can add the second teacher to the account and/or all of the students. Read more about adding members below.
- Click Billing.
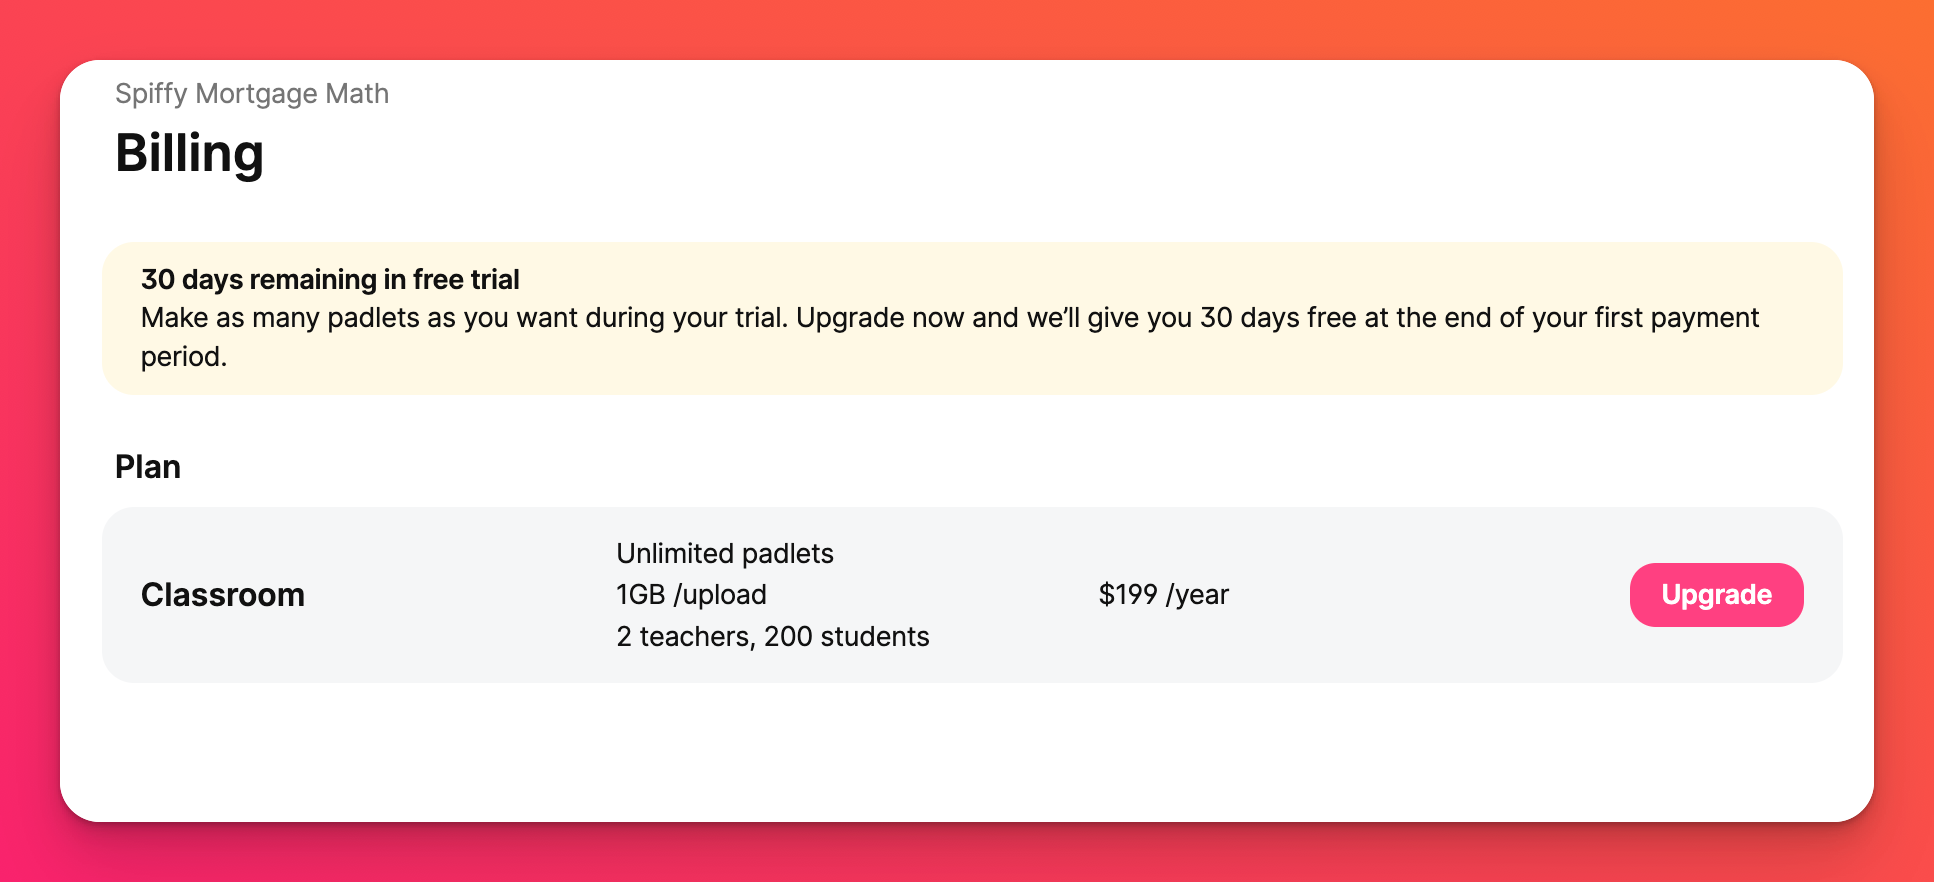
The Billing page will allow you to Upgrade to a paid subscription for your Classroom, if you wish. It will also tell you how many days you have remaining in your free trial.
- Click Permissions. Customize the different permissions you'd like for your Students and the other Teacher by clicking on Students or Teachers at the top of the page.
- Click Content safety. Safety Net is our AI moderation tool that monitors content and automatically blocks things deemed inappropriate. Set your Content Safety settings on this page to what is appropriate for you and your Classroom. Read more about Content safety here.
Add members
As mentioned before, click the three-dot ellipsis button (...) located in the bottom left of your dashboard. Scroll down to your Classroom plan on the left side panel and click Members.
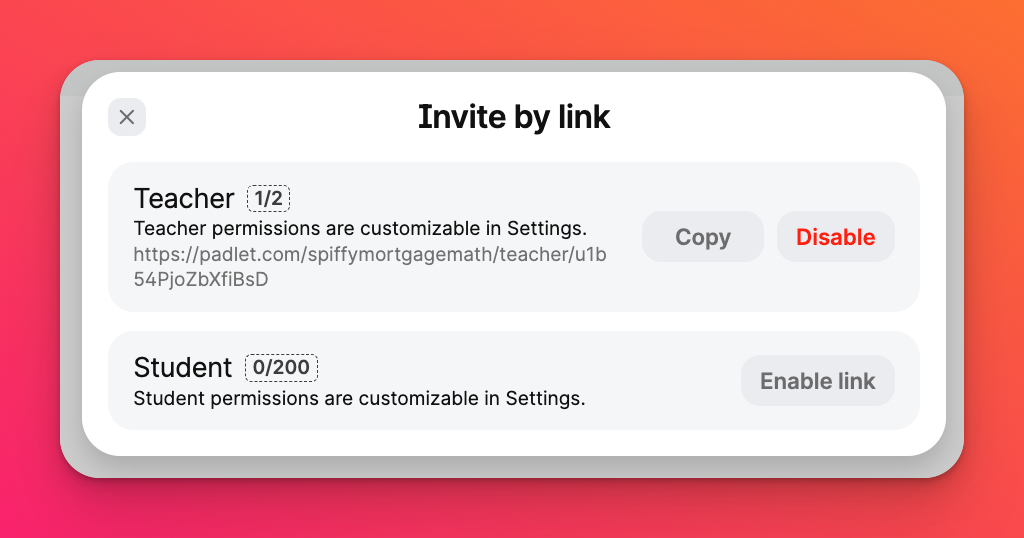
- This page will allow you to add the second teacher to the account and/or all of the students. Simply click the pink Invite button at the top right to invite them. If inviting another teacher, click Enable link next to 'Teacher.' If inviting students, click Enable link next to 'Student.' Copy the appropriate link and send it out!

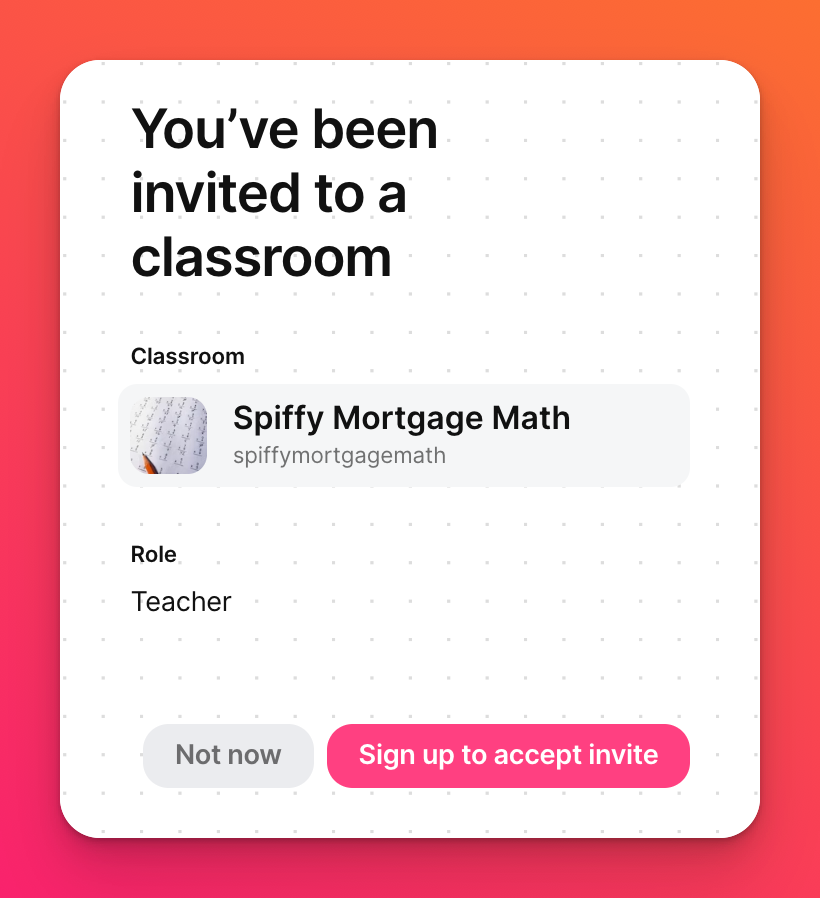
- When a teacher or student uses the Invite link that has been sent out, they will be taken to a page like the one below. It will specify the Classroom name and the particular role they will be added as. Just click Sign up to accept invite.
They have now been added as a member of your Classroom.