Post fields
 Updated 1 week ago
by
Rana Wilds
Updated 1 week ago
by
Rana Wilds
Customizing your post fields can be a very helpful tool when you want to convey a clear message on what you're expecting from others in a post. You can create placeholders for the subject and body of a post! Instead of all of your instructions in the description of the padlet you can enter prompts within the post composer.
Don't want your students to have the ability to post YouTube links? Disable it! You can also create your own custom fields! Have the autonomy you need to really create your own space!
How do I get there?
Open the padlet > Click the Settings cog icon (⚙️) on the right side of the padlet > Scroll to the Posts section > Click Post fields.

This is where you can modify your post fields.
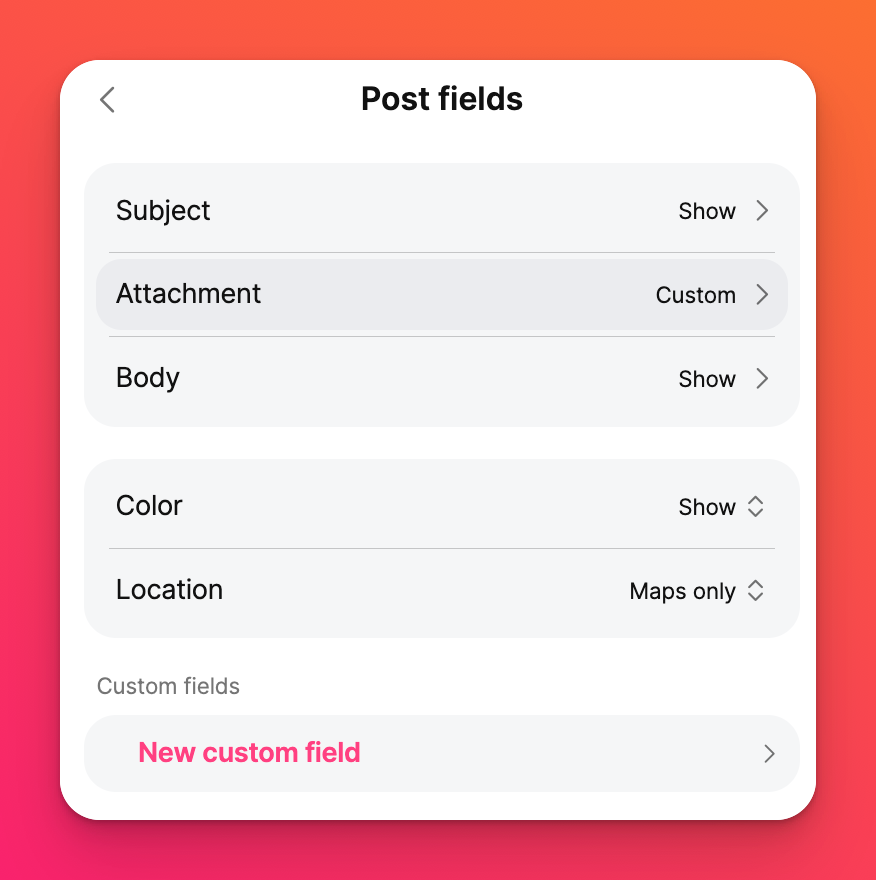
Show or hide post fields
When your students or collaborators open the post composer to create a post, you can customize what they see and what they can do.
Choose whether to Show or Hide the subject, attachment options, the body of the post, and/or the color options. If you choose to Hide some of these fields they will not show up when you click the plus (+) button to create a post.
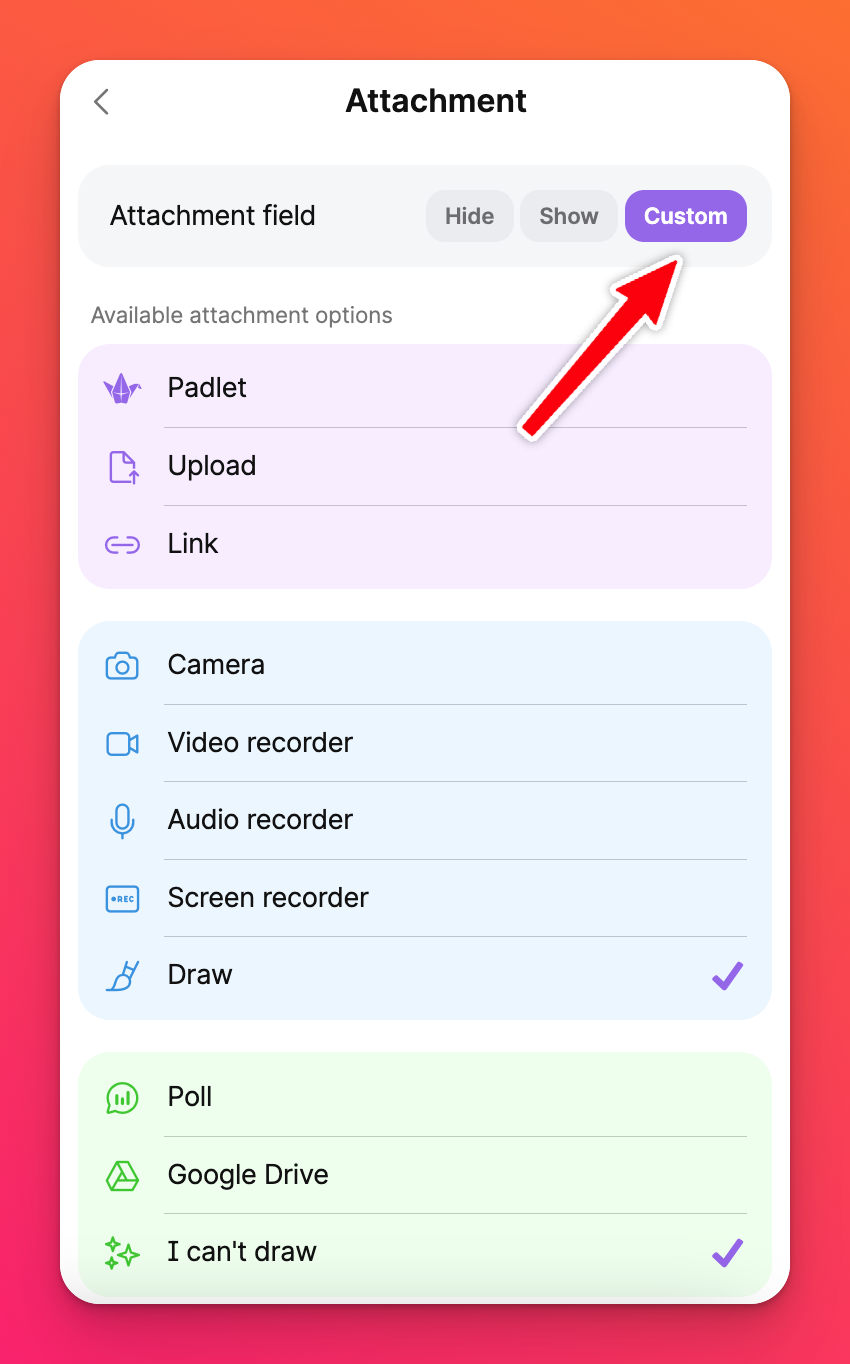
In the example below, I have chosen to Hide all attachment options except for draw and I can't draw. To do this, from the post fields panel, click on Attachment > select Custom > make sure all attachment options are unchecked (minus the ones you want).
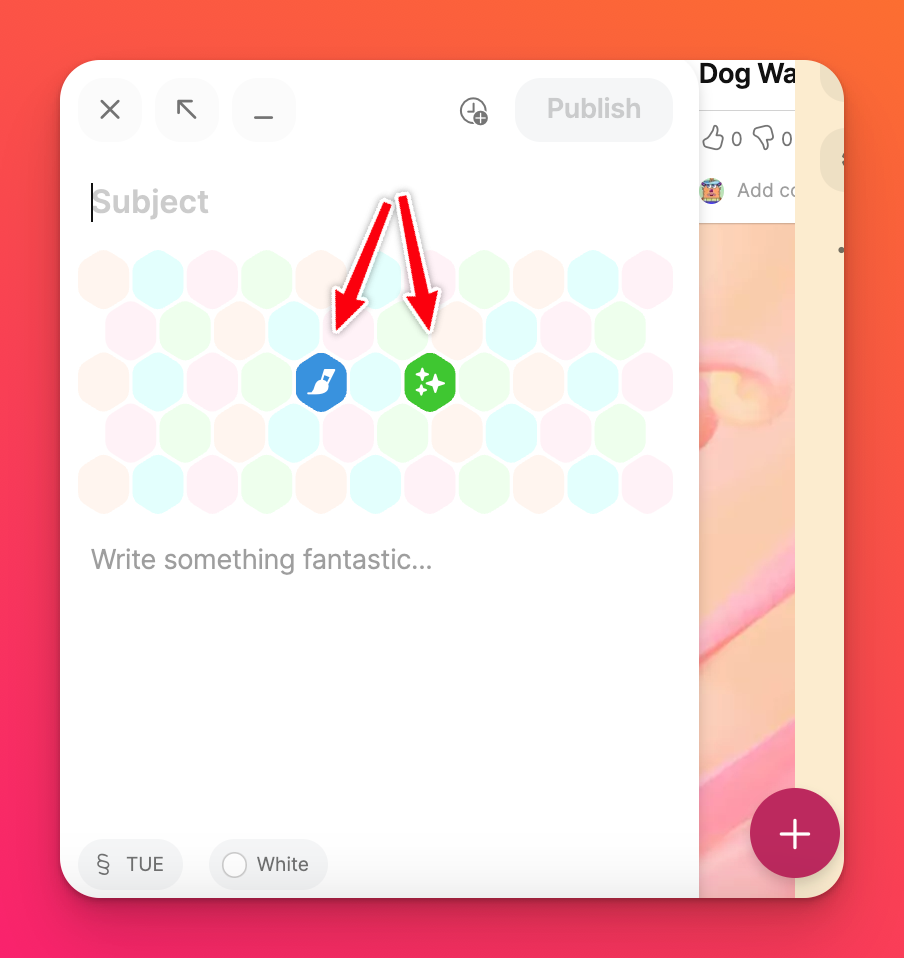
As you can see, the only two options showing in the post composer are now draw and I can't draw.
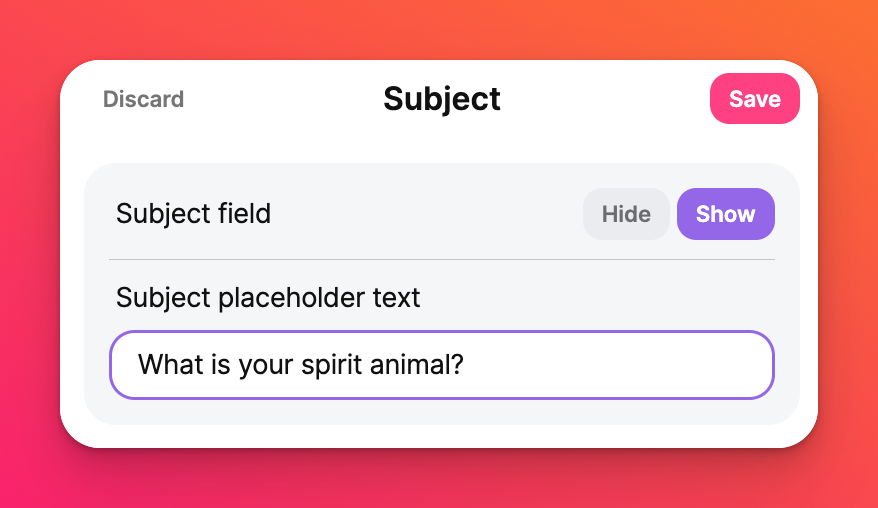
Creating placeholder text
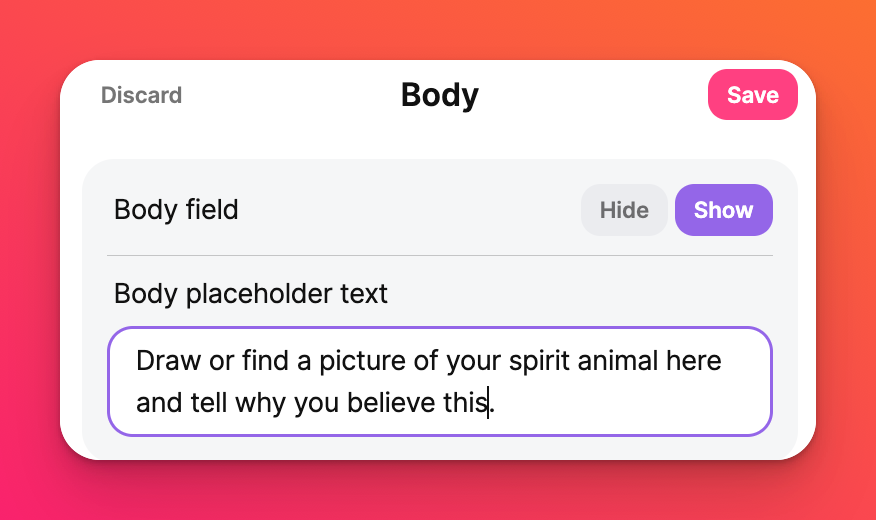
Creating placeholder text can reiterate exactly what you are looking for. From the post fields panel, click on the area you want to create a placeholder in. For example. I've created a placeholder below for the subject and body of my post to reflect the results I am looking for.
 |  |
Now the post composer will look like this when creating a post.
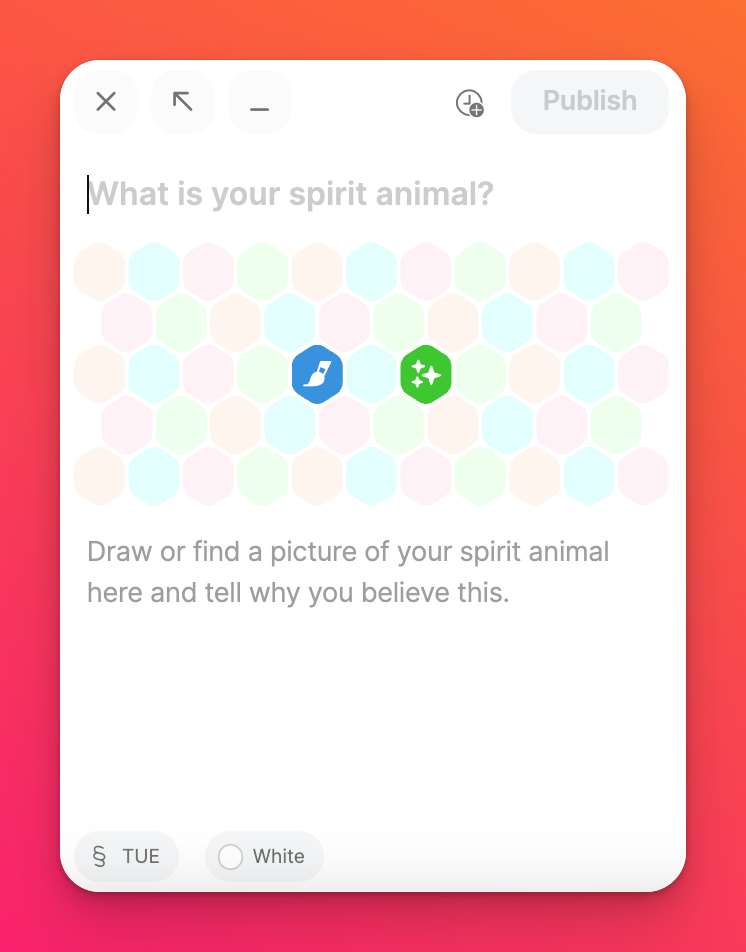
When your students/collaborators begin to type, the placeholder text will disappear and be replaced by their content.
Create a new custom field
Create a new custom field from the post fields panel by clicking New custom field. You can fill this in with any text you want. The text you place here will stay in your post, unlike the placeholder text.
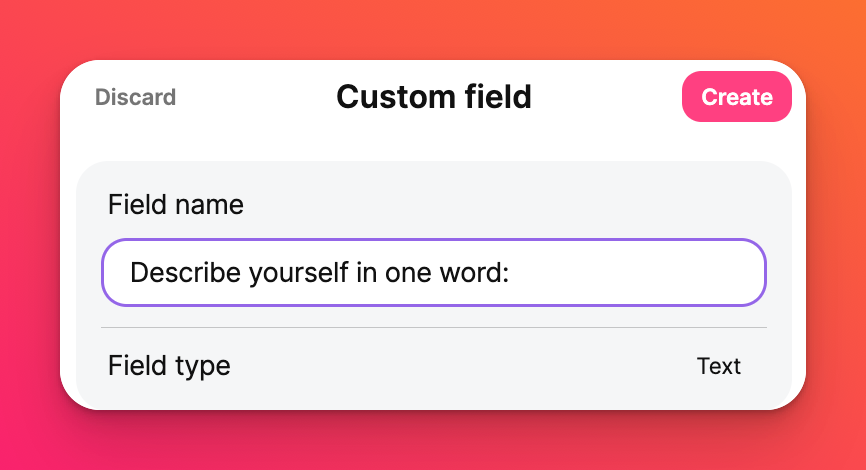
Below is the final product! The placeholder text in the subject and body have been replaced by my content. The new custom field shows the prompt "Describe yourself in one word," followed by my answer.

The possibilities are endless.
Be creative! Have fun! Be unique. Be YOU! 🫵